

10 living room feature wall ideas
Discover how to create the perfect focal point in your home with a living room feature wall that’s beautiful, stylish, and attention-grabbing.
A living room feature wall (also known as an accent wall) is a singular wall that’s designed to draw attention and stand out from the others. It’s a creative way to give your living room a decorative flair and elevate the entire aesthetics of your home.
Having a living room feature wall can help zone your space and make the area more well-defined. It also gives you the chance to express your personality as well as unify your décor. If you’re wondering which wall should be the feature wall in the living room, the answer is to choose the wall that you want as a focal point or the first wall you see when you walk into the room.
From pastel colours to statement wallpaper to different types of wall panelling, here are 10 living room feature wall ideas to inspire your next home décor project. When you’re done reading these tips, browse our range of sofas to find the perfect one for your living room.
1. Add drama with a black feature wall
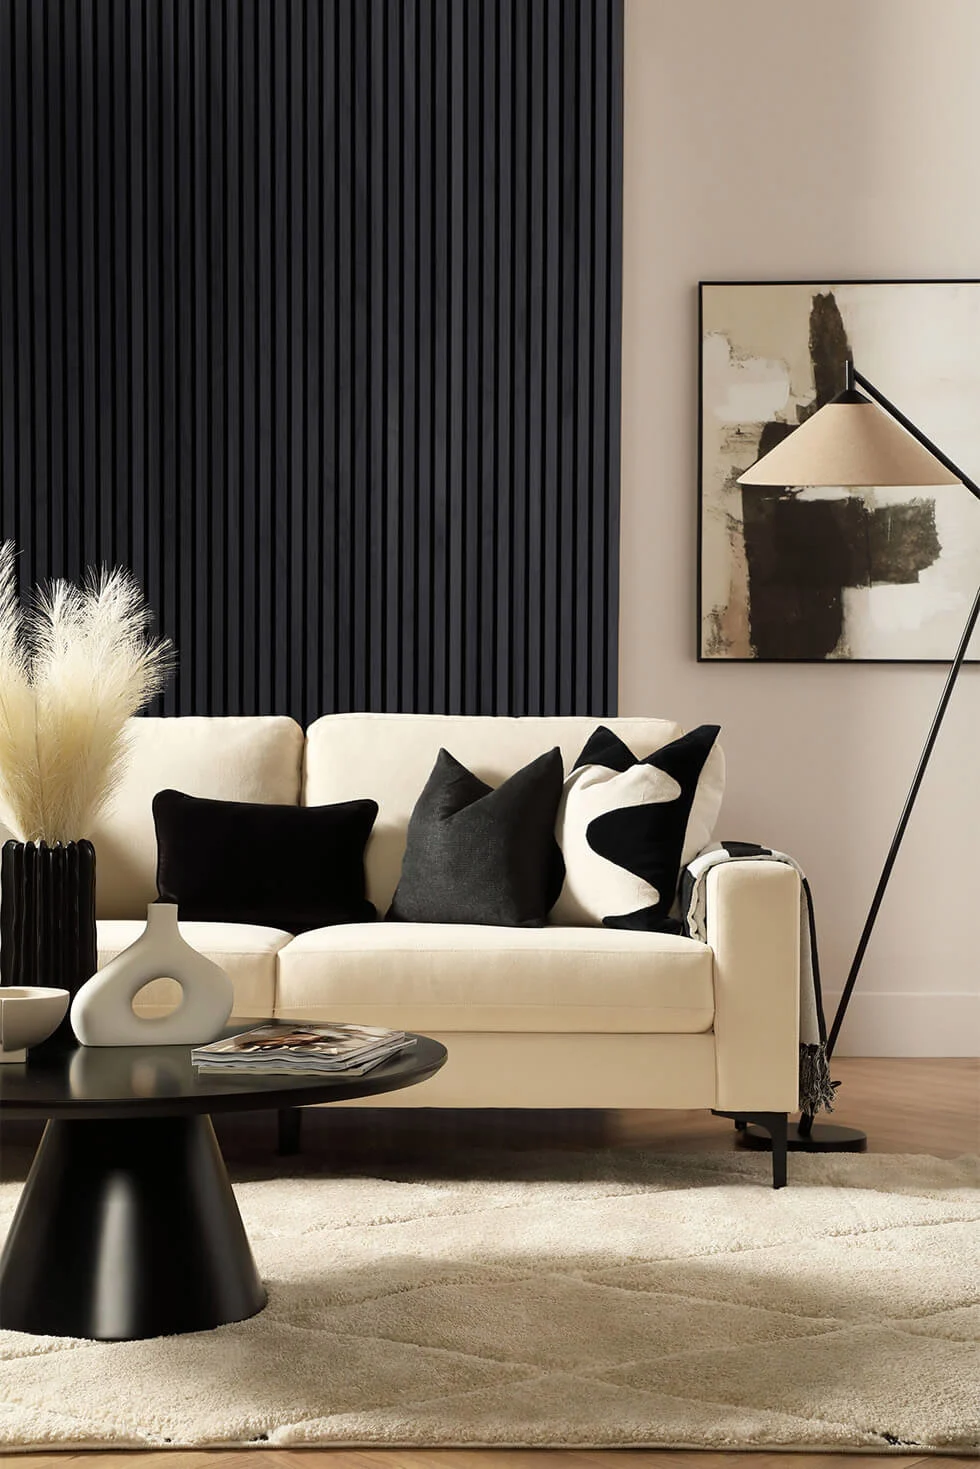
Make a bold statement with a black wall as your living room feature wall. A dramatic colour like black will contrast with the rest of the room and fit well with any interior design, whether it’s minimalist, classic, or Scandinavian. There are two ways you can go about when it comes to creating your black feature wall.
The first is to paint your walls black. You can choose to paint the whole wall or just partially with a painted arch. If you like a slight shine, use a black with a glossy finish, but if you prefer a muted look, use a matte black instead. The second way is to use wooden slat wall panels painted in black. The painted wood will have a velvety finish that adds texture and depth to your living room.
“Integrating a coloured wood slat panel to your living space not only enhances the aesthetic appeal, but also elevates the overall ambience and atmosphere,” says Lucy Tillyard content writer at Walls and Floors. “Vibrant wood slat panels can create a striking focal point, adding texture and injecting personality into the home. Darker wood slats offer a timeless choice that welcomes richness and warmth, perfect for a sophisticated design.”(Credit: Lucy Tillyard)

Lucy Tillyard
Content Writer at Walls and Floors
After studying Interior Design at university, Lucy wanted to specialise in interior trends and unique design. Currently, Lucy creates engaging blogs and content for Walls and Floors, where she gets the opportunity to blend my keen eye for style with a passion for researching current trends. Lucy is dedicated to offering fresh, stylish insights into every piece, helping readers create spaces they love.
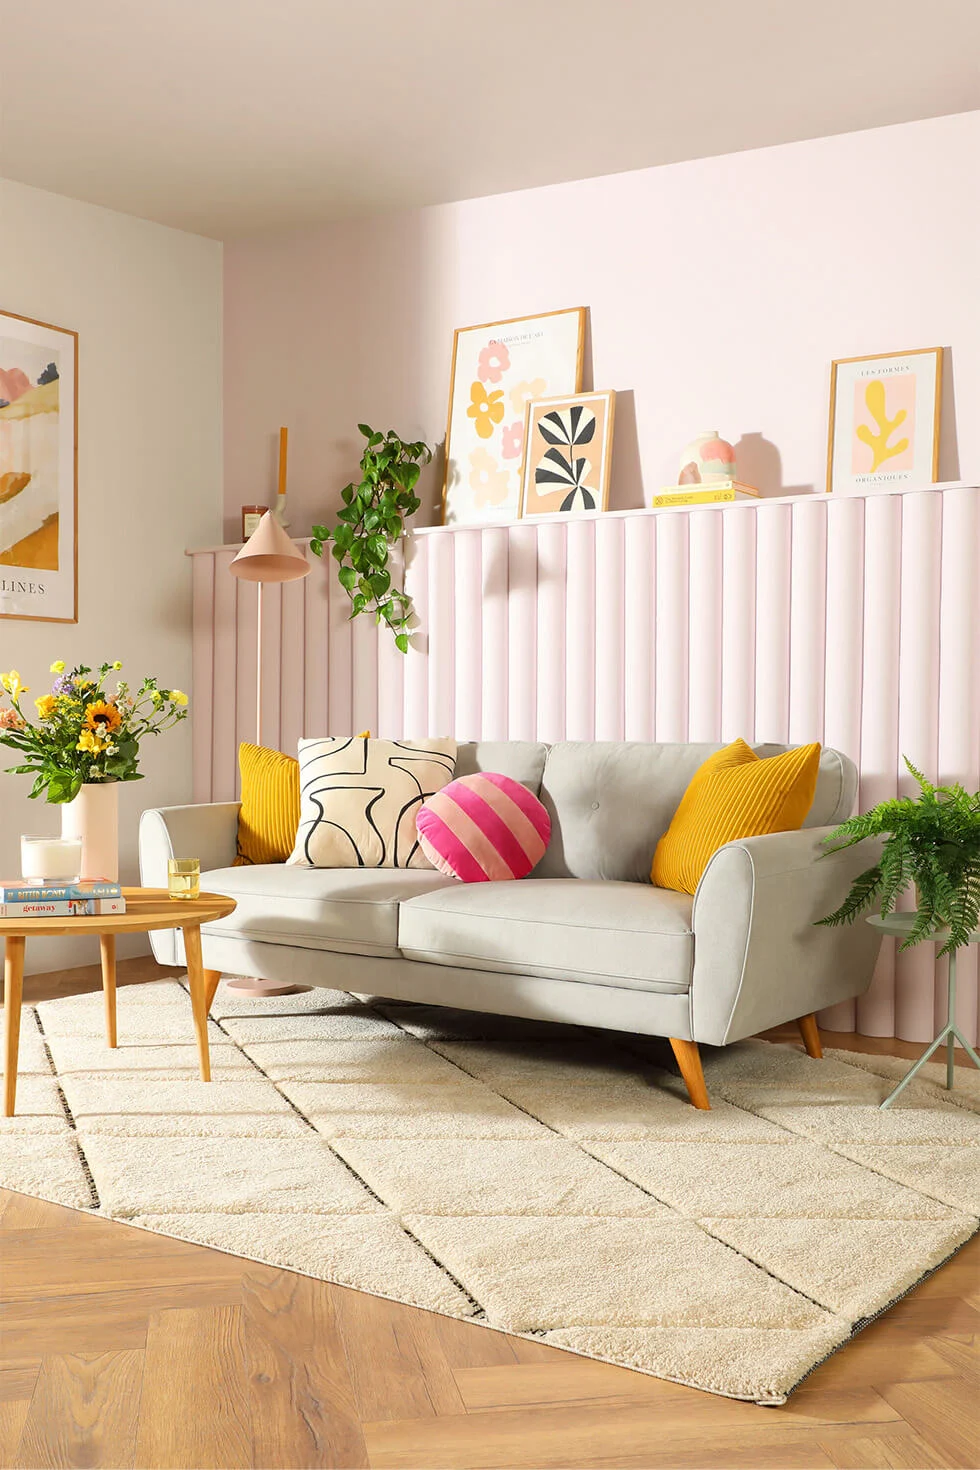
2. Use pastels for your living room feature wall
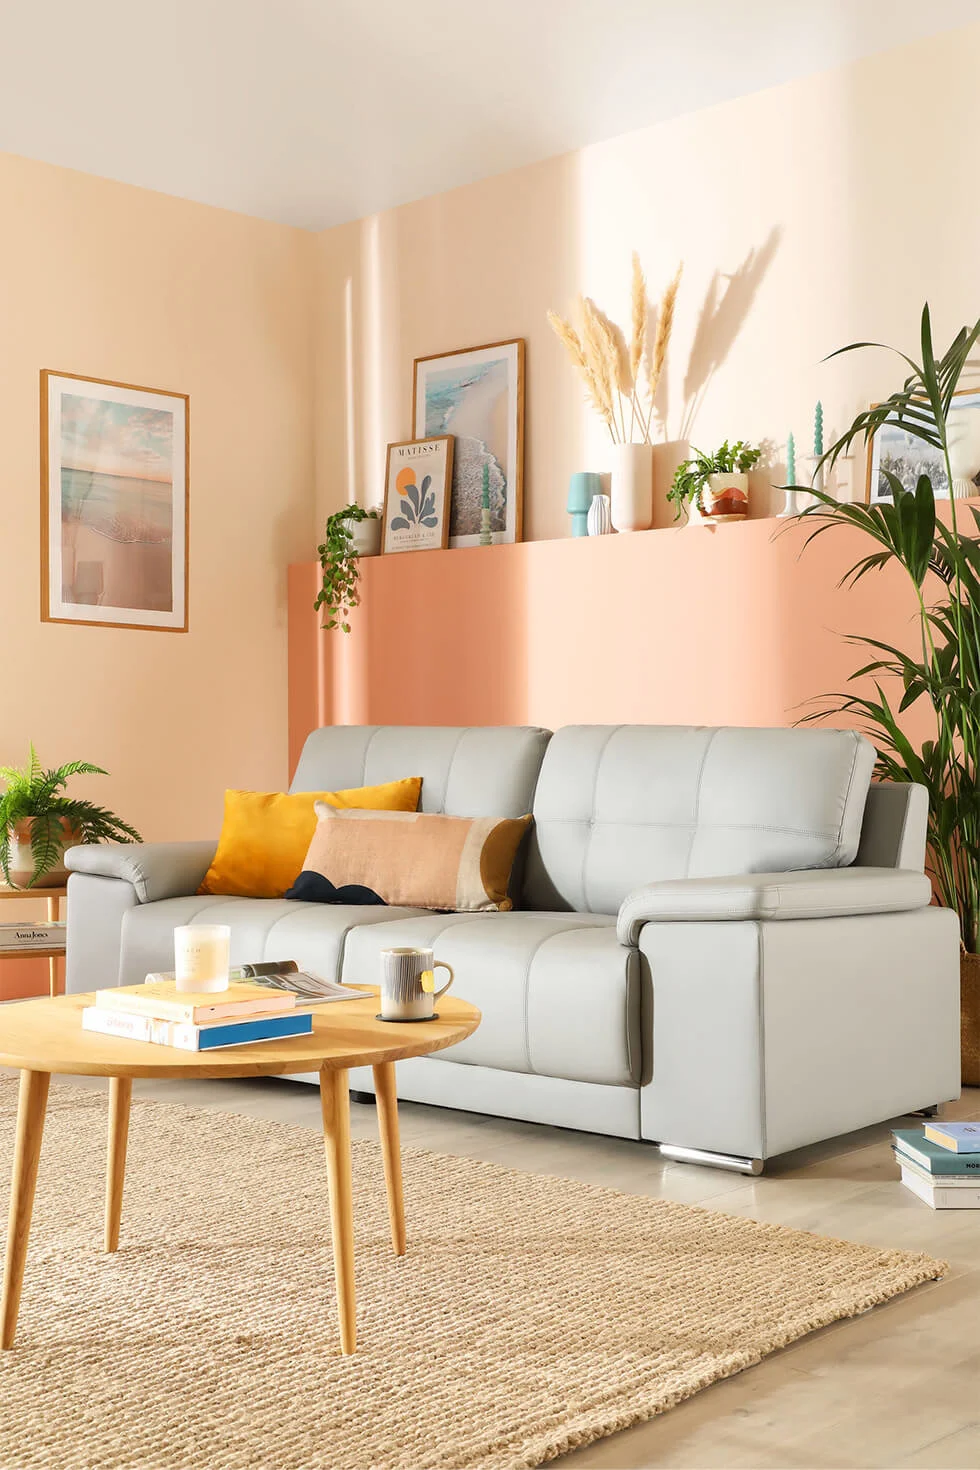
If drama is not the vibe you’re looking for, how about something softer instead? To make a living room feature wall that’s warm and cosy, paint it in comforting pastel colours. Soft hues like dusty pink, lavender, or baby blue are great options and they will match well with other neutral colours in your home.
The Pantone Colour of the Year 2024, Peach Fuzz, is a great choice for a pastel feature wall too as it’s a gentle peach hue nestled between pink and orange. This soft and delicate colour will promote feelings of warmth and make your living room feel cosy and welcoming.
3. Try a living room wallpaper feature wall

Introduce a burst of colour, patterns, or texture to your living room with a wallpaper feature wall. This is especially suitable for those who don’t want a full room of wallpaper. Geometric designs, botanical prints, or even textured patterns, the options for wallpaper are endless.
To choose the right design for your living room wallpaper feature wall, think about the look you’re aiming for. Do you want the wallpaper to match your room or do you want it to create contrast with your décor? Would you like a bold design or something more subtle? Taking these questions into consideration will help narrow down your options.
4. Craft a personalised gallery wall

Display your favourite artwork, prints, and photographs with a beautiful gallery wall in your living room. Besides making a statement, this feature wall can showcase your personality and creativity too. From postcards to children’s drawings to family photos, you can add anything to your gallery wall as you wish and curate your own masterpiece.
As for the layout, if you have frames and pieces that are more or less the same size and shape, then go for a more symmetrical layout. For frames of different sizes, an eclectic mix-and-match approach would be a better fit. The only real rule to remember here is to have fun with it!
5. Choose slat wood panels for a stylish feature wall
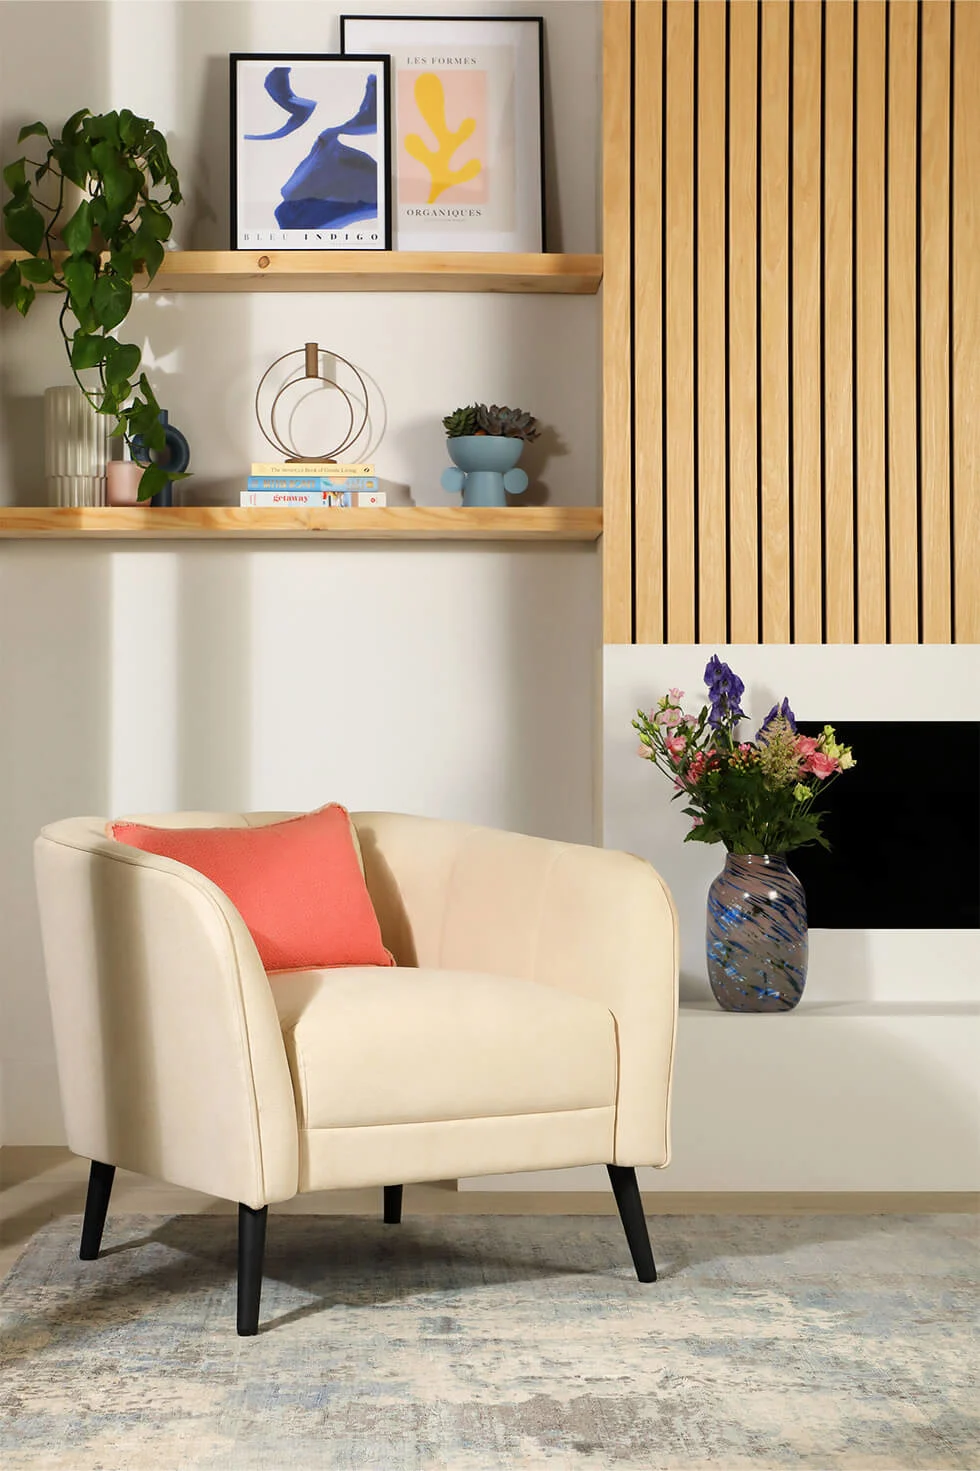
“Perfect for capturing the simplicity and warmth of Scandinavian design, natural, light wood slat panels not only add textural depth but also brighten spaces to make them appear larger and more inviting,” Lucy Tillyard content writer at Walls and Floors explains. “The natural tones of the wood bring a sense of calm and a touch of nature indoors, perfectly complementing the minimalist yet cosy aesthetic of Scandi homes.”
Create your living room feature wall with slat wood panels, a decorative panelling style that’s currently trending on social media. It’s sleek, stylish, and can be used in different interiors depending on the type of wood and finish you choose. For example, panels in a natural wood finish will fit well in a Scandi style living room, while panels with a darker wood stain or painted finish will complement a modern aesthetic. If you’re looking for more styling tips for Scandi living rooms, check out our guide.
6. Create a feature wall with picture frame moulding

Want a living room feature wall that’s elegant, affordable, and simple to create? Use picture frame moulding on your feature wall to frame artwork, photos, or mirrors. Picture frame moulding is a type of wall panelling that is also known as wainscoting or box panelling. It involves adding decorative trim and moulding to create framed sections on the wall.
Picture frame moulding is often used in traditional or classic interiors, but it can also suit modern living rooms or eclectic styles depending on how you style it. You can paint it in the same colour as the wall to make it look like it’s a part of the wall or use a contrasting colour for a bold touch. This type of wall panelling can add texture and make your feature wall look three-dimensional, enhancing the look of your living room.
7. Level up your feature wall with ribbed panelling
Elevate your living room feature wall with next level wall panelling - ribbed wall panels. These decorative panelling pieces have narrow and convex grooves that look like the stems of bamboo.
They are typically used vertically and can be made from different materials like wood, medium-density fibreboard (MDF), or metal.
Ribbed panelling is a popular choice for classic styles, modern retro interiors, as well as luxurious aesthetics. If you want to recreate that luxe hotel vibe for your feature wall, paint the ribbed panels in earthy neutral colours like tan, taupe, or grey. Install LED light strips horizontally on the top or bottom of the panels and use metallic décor to complete the look.
8. Build an indoor plant wall
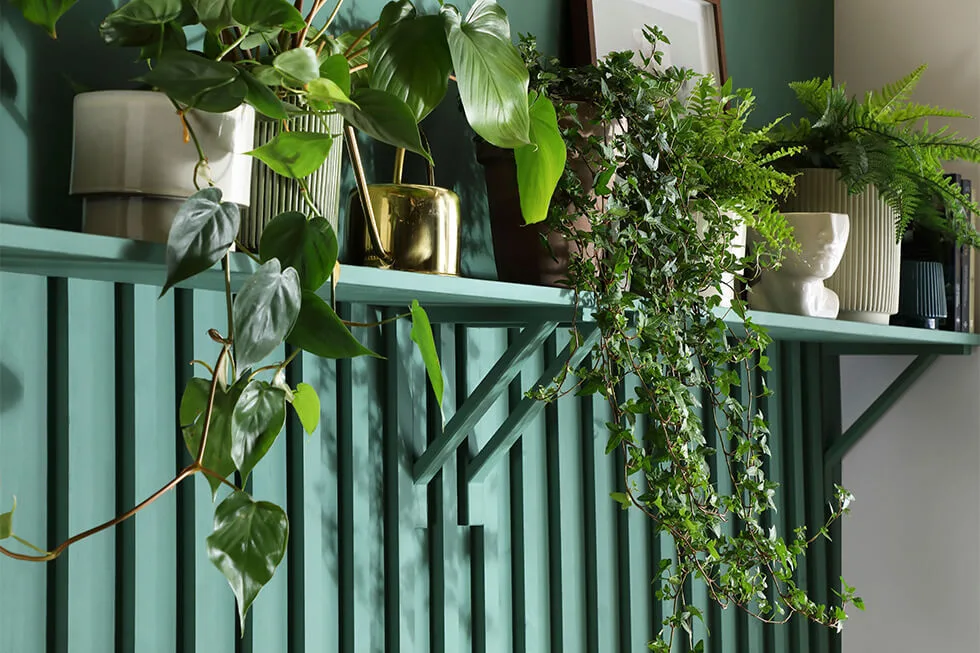
Embrace the beauty of nature indoors by creating a mini “garden” as your living room feature wall. These green companions can improve your wellbeing at home and add a touch of tranquillity to your space. Here are a few methods to build this lush indoor plant wall.
The first method, which is also the most straightforward, is to use wall shelves or floating shelves. You can display your plants on them as well as other decorative items.
Next method is to install wall-mounted planters. They come in many designs and it’ll be easy for you to find the one that matches your interior.
Last but not least, hanging planters. These will create depth in your living room when you hang them at different heights. Rattan or woven hanging planters are perfect for feature walls in living rooms with a boho chic interior.
9. Style your living room feature wall with tiles

Transform your living room feature wall with tiles. No longer limited to just the bathroom, tiles are now widely used in other parts of the home too. To create a feature wall that’s dramatic and maximalist, choose bold colours or geometric patterns.
On the opposite end of the spectrum, if you prefer a softer look, go with neutral colours or subtle designs. You should also consider the type of finish for your tiles, whether you like glossy finishes or matte ones. A tile feature wall will be a perfect backdrop for your fireplace, seating area, or even your WFH corner.
10. Turn your window into a feature wall with green
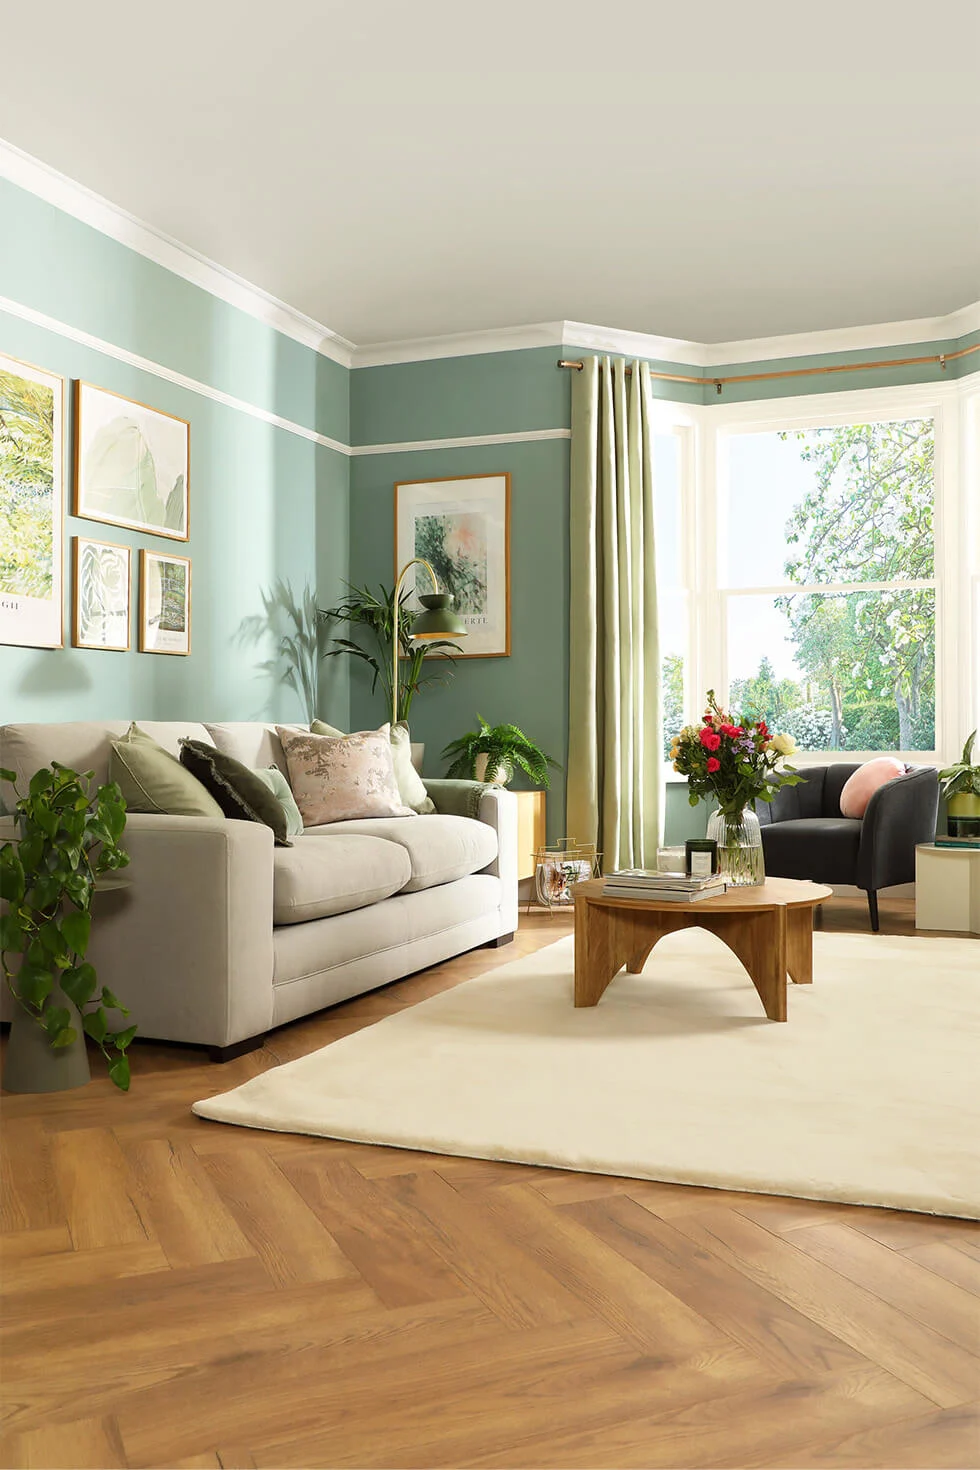
Do you have a window in your living room with a beautiful view of nature outside? Don’t let that view go to waste! Bring the outdoors in and use that window wall as your living room feature wall. Paint your window wall in a colour that matches the greenery outside but does not overpower it. Soft, muted greens like sage green or pastel green will work well. Surround your window with potted plants as well as fresh flowers and there you have it - a lovely focal point in your living room.
By drawing inspiration from these 10 living room feature wall ideas, you can experiment with different colours, textures, and materials to create a feature wall that not only looks remarkable but also feels uniquely yours. Interested in more articles like this? Learn how to layout your living room or check out these room divider ideas.